So I went ahead and knit the bottom part of the skirt in the round. When I got up to the armholes, I wanted to be able to keep going without stopping for the sleeves, so here's what I did:
Instead of binding off the stitches for the armholes, I placed them on stitch holders (ie. safety pins).

I then got some scrap yarn and temporarily wedged the tail of it in between some stitches, just for a bit of traction.

Then it's a simple matter of making a long-tail cast-on of the number of stitches that would normally be contributed by the sleeve. The working yarn is held with the index finger, and the scrap yarn is held with the thumb.


And then I knit on as I normally would.
After the main body was done, it was time to go back and pick up for the sleeve bands. Keep in mind that when you do a provisional cast-on in this method, you can't "unzip" the scrap yarn like you can with some other techniques--you have to pick it out to retrieve your live stitches.
I've had problems in the past with holes around the armholes. See that big gap between the sleeve stitches and the underarm stitches from the body?

Here's where it helped to pick up an extra stitch.


The other thing that helped is crossing the sleeve stitch *over* the underarm stitch from the body when working the first row.

No more hole!

Here's the finished result.
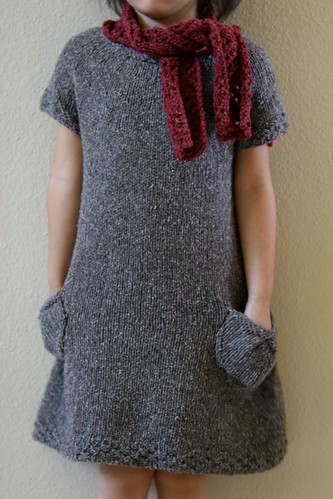
And yes, the 10-year-old can still wear it.

And no, I can't anymore. More pics on Ravelry.
nice..i'm going to have to bookmark this technique...love your finished project.
ReplyDeleteNow that's clever! And the tunic is wonderful - on both girls!
ReplyDeleteIngenious little method you have there!
ReplyDeleteI love the result and think the pockets are just right too.